Are you considering tackling an oil change at home to save a few bucks? While it might seem like a cost-effective option, several factors should be considered before diving into a DIY oil change. Let's filter the pros and cons of DIY oil changes and why entrusting this task to our experienced technicians might be your best choice.
DIY Oil Changes
DIY oil changes can appeal to those looking to save money and take control of their vehicle maintenance. It's good to know the complexities involved in the process. From gathering the necessary tools and supplies to safely disposing of the old oil and filter, several steps require careful attention and expertise. While changing your oil at home might save you a few dollars upfront, it often comes with hidden costs in terms of time, effort, and potential safety hazards.
Step-by-Step Guide: How to Change Your Oil
Gather Supplies: Before starting, ensure you have all the necessary tools and materials at hand. You'll need fresh oil (as specified by your vehicle's manual), a new oil filter, a wrench (typically a socket wrench), a drain pan, safety gloves, and possibly a filter wrench if your filter is hard to remove.
Prepare Your Vehicle
Place your car on a level surface and use the brake. It's essential to let the engine cool down for at least 10-15 minutes before starting. This prevents hot oil from splattering and ensures a safer working environment.
Drain the Oil
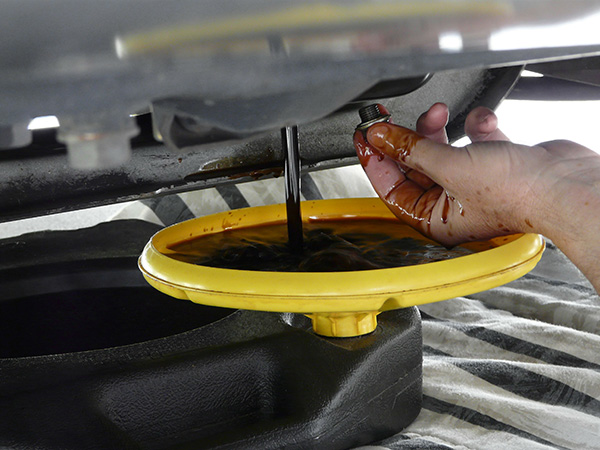
Position the drain pan beneath the oil pan, usually at the engine's bottom. Using the appropriate wrench, carefully loosen the drain plug. Be cautious as the oil may still be hot. Allow the old oil to drain completely into the pan.
Replace the Filter
Locate the oil filter, which is usually near the oil pan.
Use a filter wrench if necessary to loosen and remove the old filter.
Before installing the new filter, apply a thin layer of oil to the gasket to ensure a proper seal.
Hand-tighten the new filter, making sure it's snug but not overly tight.
Add Fresh Oil
Remove the oil filler cap located on the top of the engine.
Using a funnel to avoid spills, pour in the recommended amount of fresh oil.
Check your owner's manual for the correct oil type and quantity.
Once filled, replace the oil filler cap securely.
Dispose of Old Oil Properly
It's crucial to dispose of used oil responsibly. Pour the old oil from the drain pan into a sealed container, such as an empty oil bottle, and take it to a recycling center or an automotive shop for proper disposal. Never dispose of used oil in the trash or pour it down the drain, as it can harm the environment.
Following these steps will help you perform an oil change at home safely and effectively while ensuring your vehicle's engine remains properly lubricated for optimal performance.
Benefits of Professional Oil Changes
When you choose Import Auto Specialists for your oil change needs, you're not just paying for a service—you're investing in your vehicle's long-term health and performance. Our technicians have the expertise and experience to identify potential issues early by inspecting various components for wear and tear, saving you money on costly repairs down the road.
By bringing your vehicle to our shop for an oil change, you'll have peace of mind knowing that it's in the hands of professionals who prioritize safety, efficiency, and customer satisfaction above all else.
Safety Considerations
One of the most significant advantages of opting for a professional oil change is safety assurance. Our technicians are trained to work with precision and care, minimizing the risk of accidents or injuries.
We also adhere to strict safety protocols to protect our team members and your vehicle throughout the service process. By entrusting your oil change to Robbie's At Your Service, you can drive away confidently, knowing that your vehicle has received the attention and care it deserves.
Schedule your next oil change with Import Auto Specialists and experience unparalleled oil change and vehicle maintenance.